Get a Quote
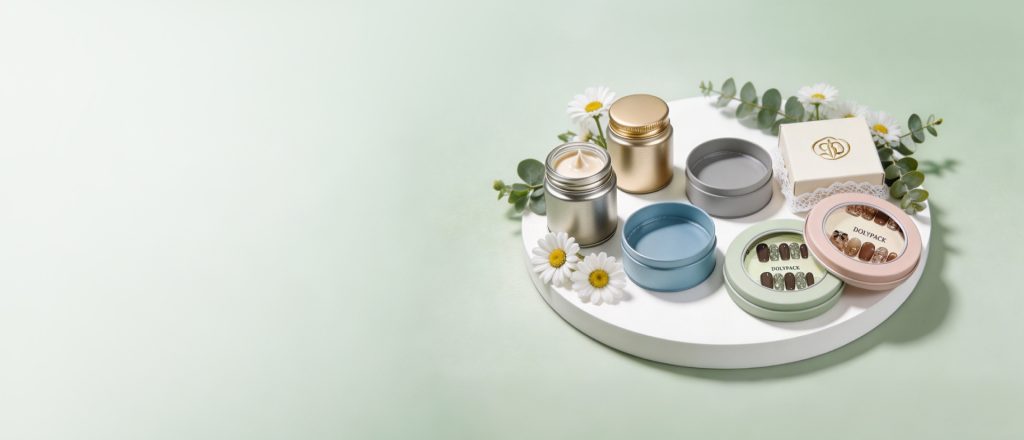
There’s no fixed per-unit rate for embossed tins the way there is for a sheet of paper. A quote gets built from your container drawing, your vector artwork (AI, EPS, or vector PDF), the metal (aluminum or tinplate), the pattern depth, the finish, and the target quantity — five variables that interact rather than five line items on a menu. Working through the mechanics of each one, with illustrative numbers to show how they move a quote, makes it possible to judge a real quote’s fairness before you ever request one.
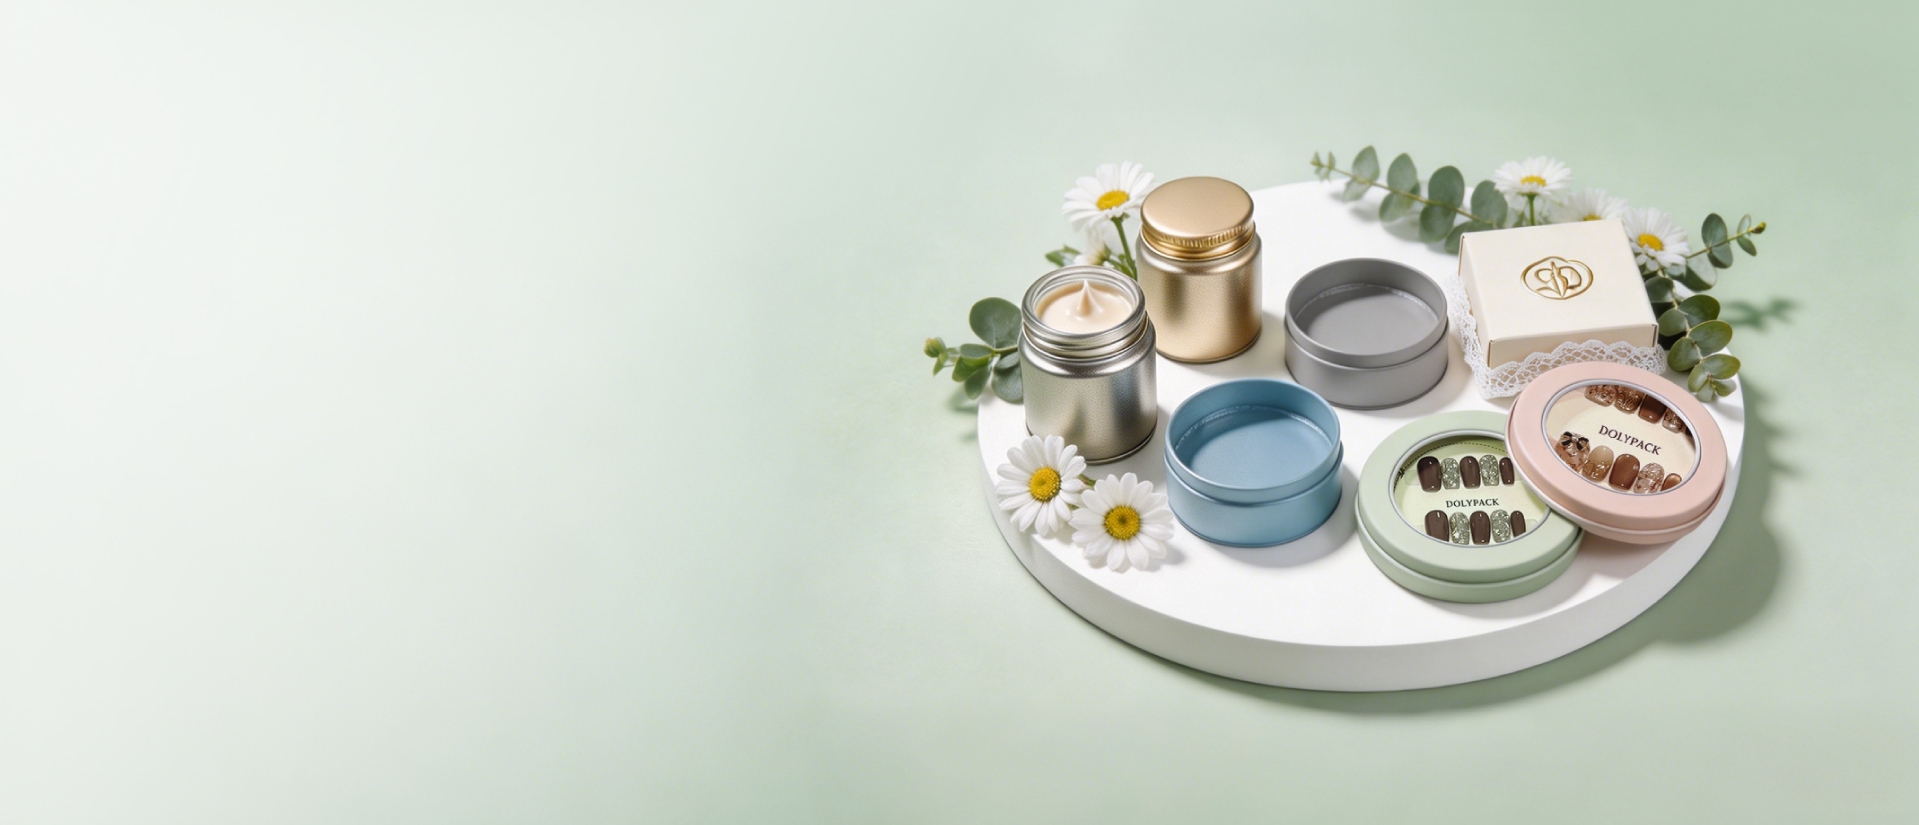
Embossing (or debossing) presses a raised or recessed design into a tin’s metal surface using a matched die set. Five variables drive the number up or down. The dollar figures below illustrate how the mechanism works — your actual die cost is confirmed only after your artwork and container drawing are checked against gauge and curvature.
Every custom pattern needs a die built to match your artwork, and that die is a one-time, fixed cost — it doesn’t rise or fall with a single order the way per-unit charges do. A bold single-color logo or wordmark die commonly runs somewhere in the $300–$600 range. A moderate design with multiple elements, text, and imagery typically lands around $600–$1,500. A fine, deep, or photographic-style relief pattern often runs $1,500–$4,000+, because it demands tighter tolerances and more careful press setup.
Thicker gauge holds a crisper, deeper impression but resists forming more than thin gauge — that trade-off shapes how complex the die and press setup need to be. A flat panel embosses more predictably than a curved sidewall or a seamed edge where the lid meets the body. Whether you’re specifying embossing tin sheets for a screw-lid jar, a slip-lid tin, or a flat format, the body construction and curvature need to be checked against the artwork before tooling starts, because the same pattern can behave differently on a curved wall than on a flat lid.
A bold logo or simple geometric mark tools and runs more cheaply than a fine-line pattern or photographic-level relief. Deep, intricate designs demand tighter die tolerances and slower, more careful pressing to avoid distortion, which adds to both tooling complexity and run time. If budget is the constraint, simplifying the design — thicker lines, fewer fine details, less contrast in depth — is the single highest-leverage lever available.
Because tooling is fixed, the per-unit cost of embossing drops as quantity rises. A die that costs $1,200 to build contributes about $2.40 per unit at 500 pieces, about $0.24 per unit at 5,000 pieces, and about $0.02 per unit at 50,000 pieces — the die charge itself never changes, only how many units it’s divided across. This is why the same design and the same die can look expensive on a short run and negligible on a large one.
Embossing is rarely the only decoration on a tin. Matte or gloss varnish, a metallic effect, spot lacquer, or anodizing (for aluminum) all stack on top of the base embossing cost as separate line items — they’re not folded into the die charge.
Bigger tins raise costs beyond gauge and depth alone. A large flat panel — the kind used on extra large tin containers — needs a proportionally larger die surface and more press tonnage to reproduce the same crispness across the whole area, since force has to be distributed evenly over more square inches of metal. Large flat panels are also more prone to warping under pressure, which sometimes pushes the gauge selection thicker than it would be on a small tin with an identical pattern. That’s why a big tin’s embossing cost doesn’t scale as a simple multiple of a small tin’s price — the die and press requirements change shape, not just size.
Two scenarios show how design and volume compound.
Scenario A — bold logo deboss, 20,000 units. Tooling around $800, amortized across 20,000 units, adds roughly $0.04 per unit. A modest per-unit pressing premium of about $0.03 brings the total embossing add to roughly $0.07 per unit — about $1,400 added across the whole order.
Scenario B — fine multi-panel relief, 500 units. Tooling around $4,500 for the tighter tolerances, amortized across only 500 units, adds roughly $9.00 per unit. A higher per-unit pressing premium of about $0.15, driven by slower, more careful pressing, brings the total add to roughly $9.15 per unit — about $4,575 across the order.
Same process, same category of tin — but the fixed die cost spread across a fraction of the units, plus a more complex pattern, pushes the per-unit and total cost up by more than 100x. Volume and design complexity, not embossing itself, are what separate these two outcomes.
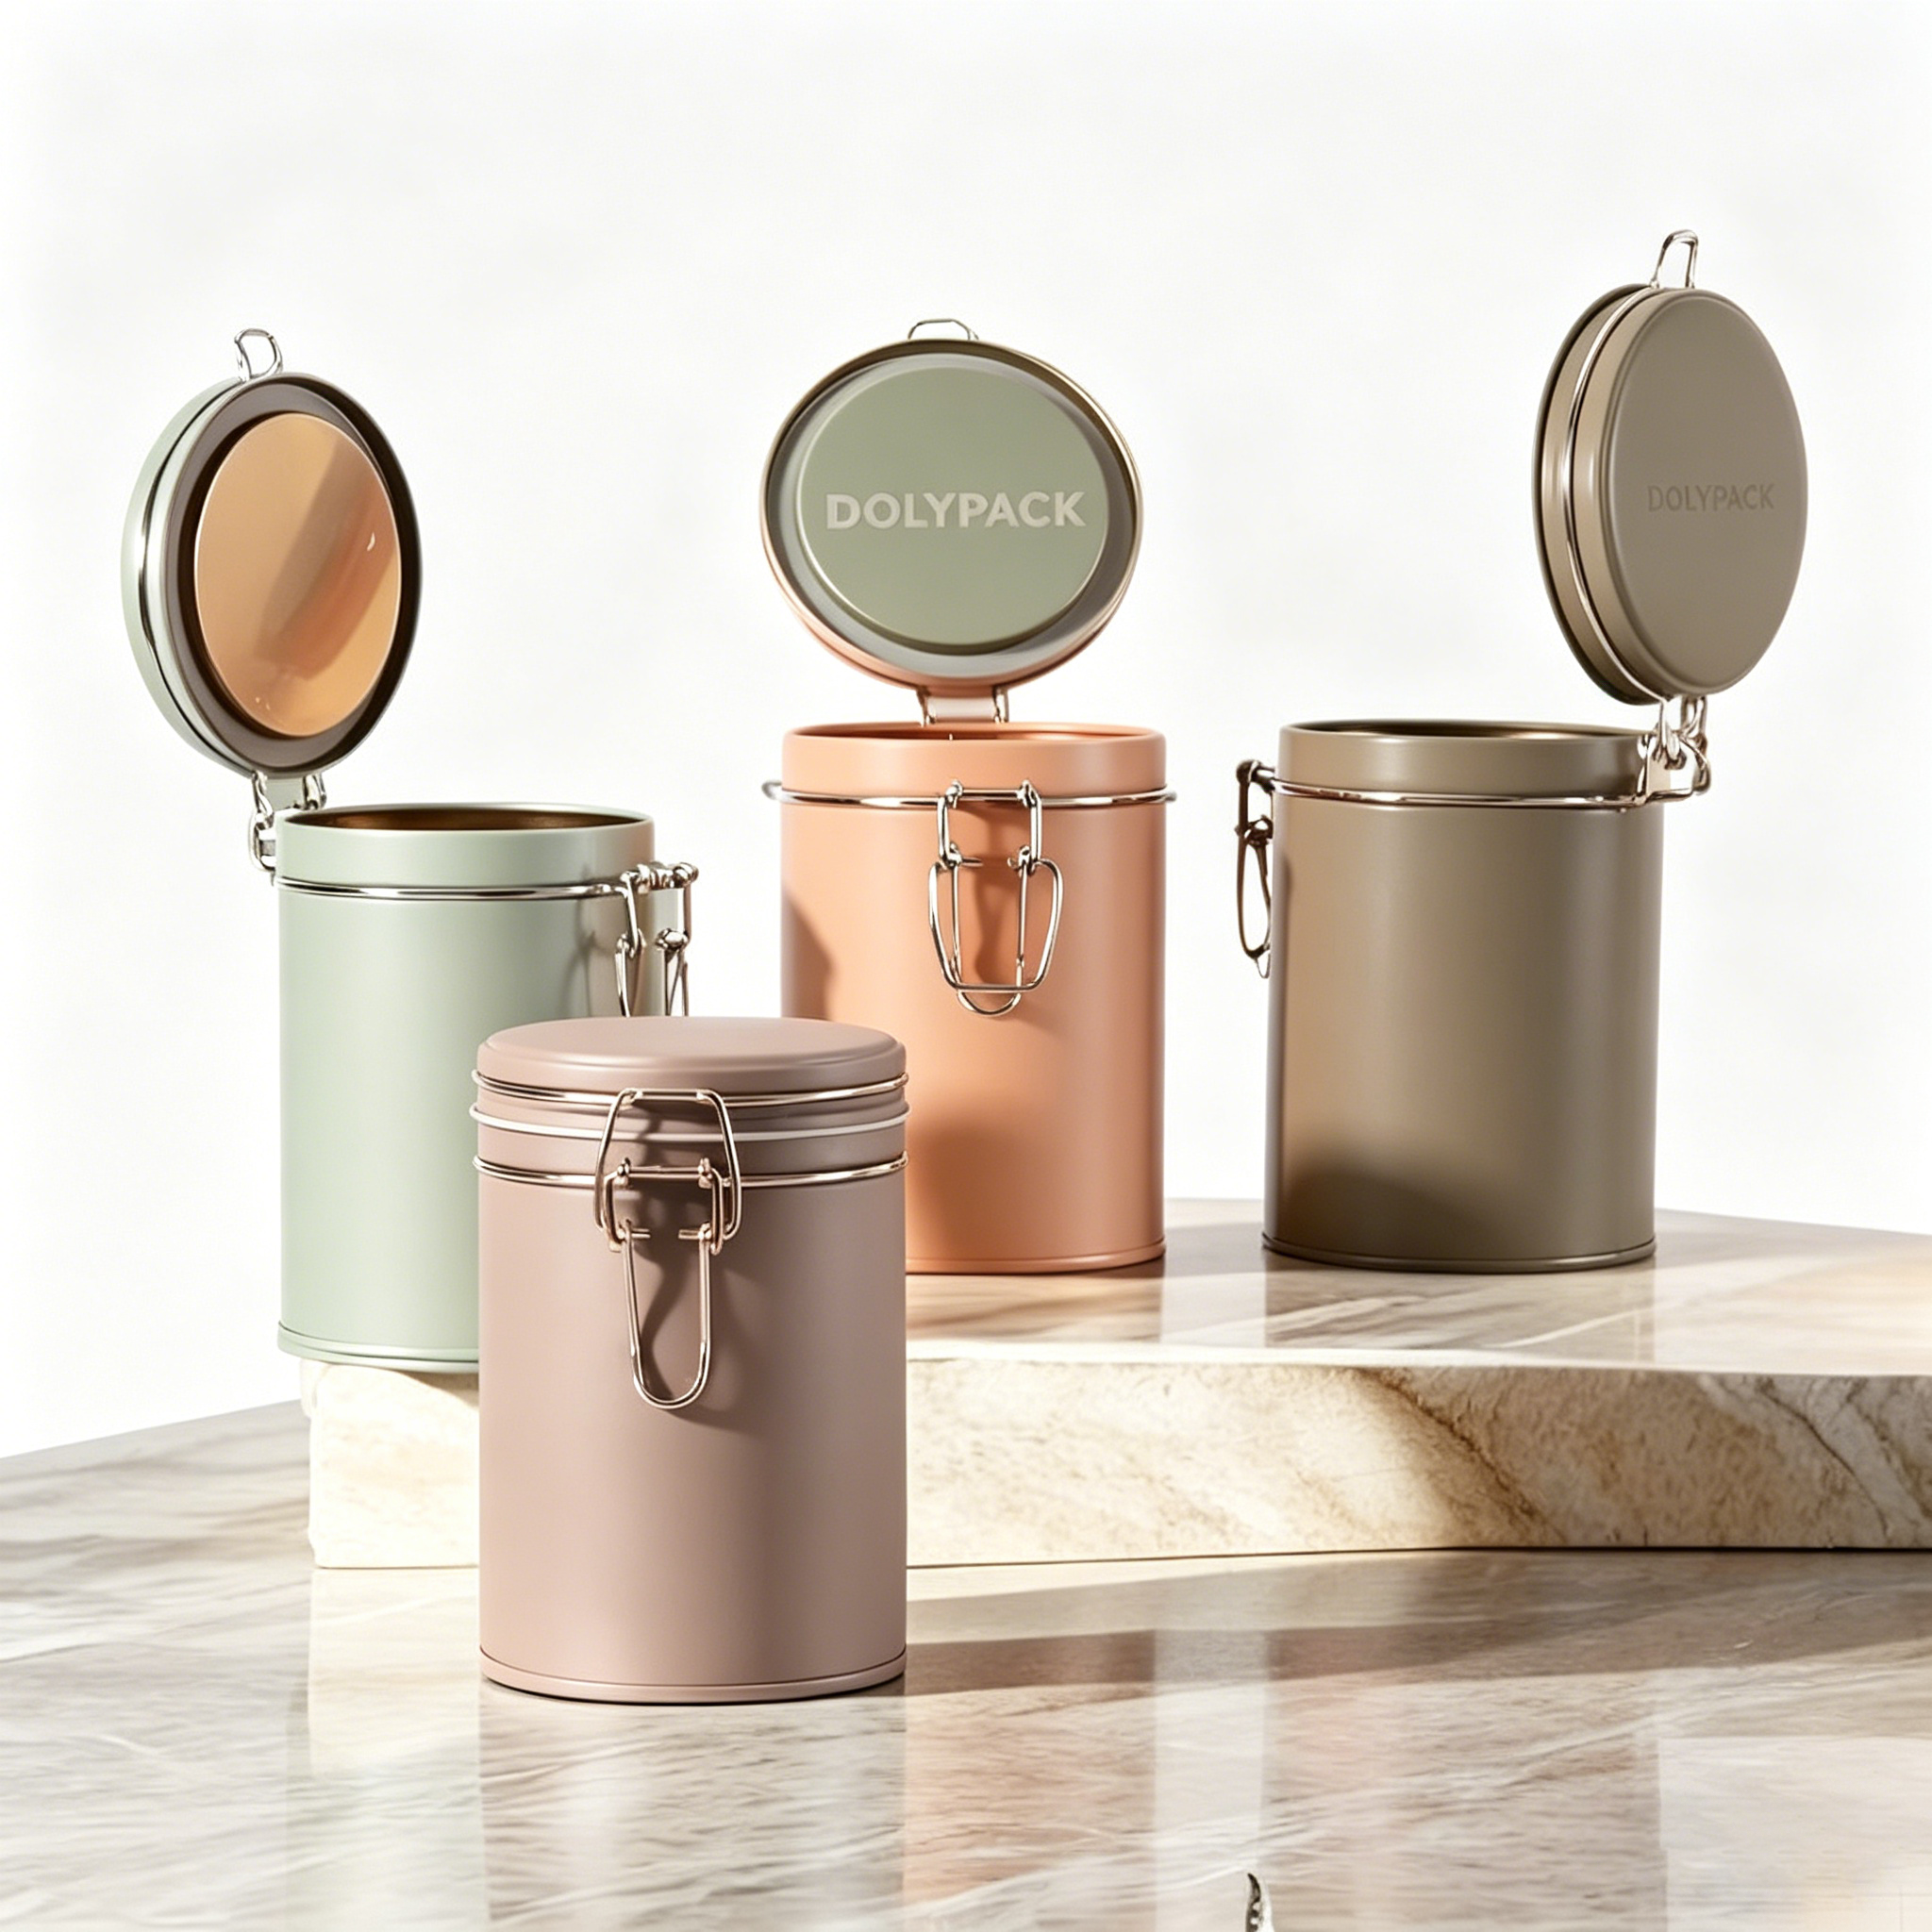
Not inherently — but the answer depends on which of two cost buckets you’re asking about. Bucket one is tooling: the one-time die development charge, paid regardless of order size. Bucket two is the per-unit premium: the incremental cost of embossing each tin once the die exists, which is usually a modest add rather than a full re-pricing of the container.
Where embossing gets genuinely expensive is at the intersection of the two — a fine, deep, multi-panel pattern on a short run, exactly like Scenario B above. Where it’s cheap is a simple logo emboss on a large order, exactly like Scenario A. So “is embossing expensive” translates to: expensive relative to what design, and what quantity?
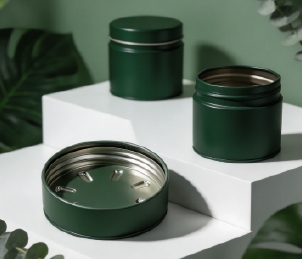
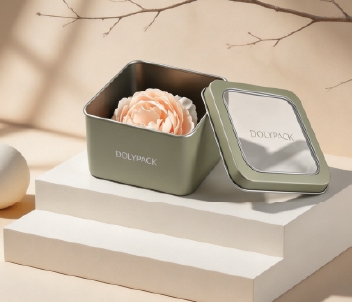
The decoration and finish options described above get scoped against the container itself — screw-lid jars, slip-lid tins, flat formats, and more — as part of Custom Embossed Tins capabilities.
Embossing is usually not competing against printing for the same job — it’s often layered on top of it. The more useful comparison is “emboss + print” against “print only,” because the incremental cost is the die, not a full repricing of the tin.
| Decoration method | Upfront cost | Per-unit cost driver | Typical role |
|---|---|---|---|
| Embossing / debossing | Die/tooling charge (one-time) | Pattern depth, gauge, run size | Tactile brand mark, often combined with printing |
| Screen printing | Screen setup per color | Number of colors, coverage area | Bold, solid-color graphics and text |
| Offset / full-color printing | Plate setup | Color complexity, print area | Photographic detail, gradients, multi-color artwork |
| Laser marking | Minimal to none | Marking time, detail level | Fine text, variable data (batch codes, serials), no tooling needed |
Screen printing and offset/full-color printing carry their own setup costs, priced independently of embossing — you can print without embossing, or emboss without printing. Laser marking has the lowest upfront cost of the group since it needs no die or screen, but it can’t reproduce embossing’s tactile, dimensional effect; it suits fine text or variable data better than a brand-defining texture. If you’re already budgeting for printed decoration, adding embossing is an incremental die cost on top of a print job you were paying for anyway — not a separate full-price decoration method.
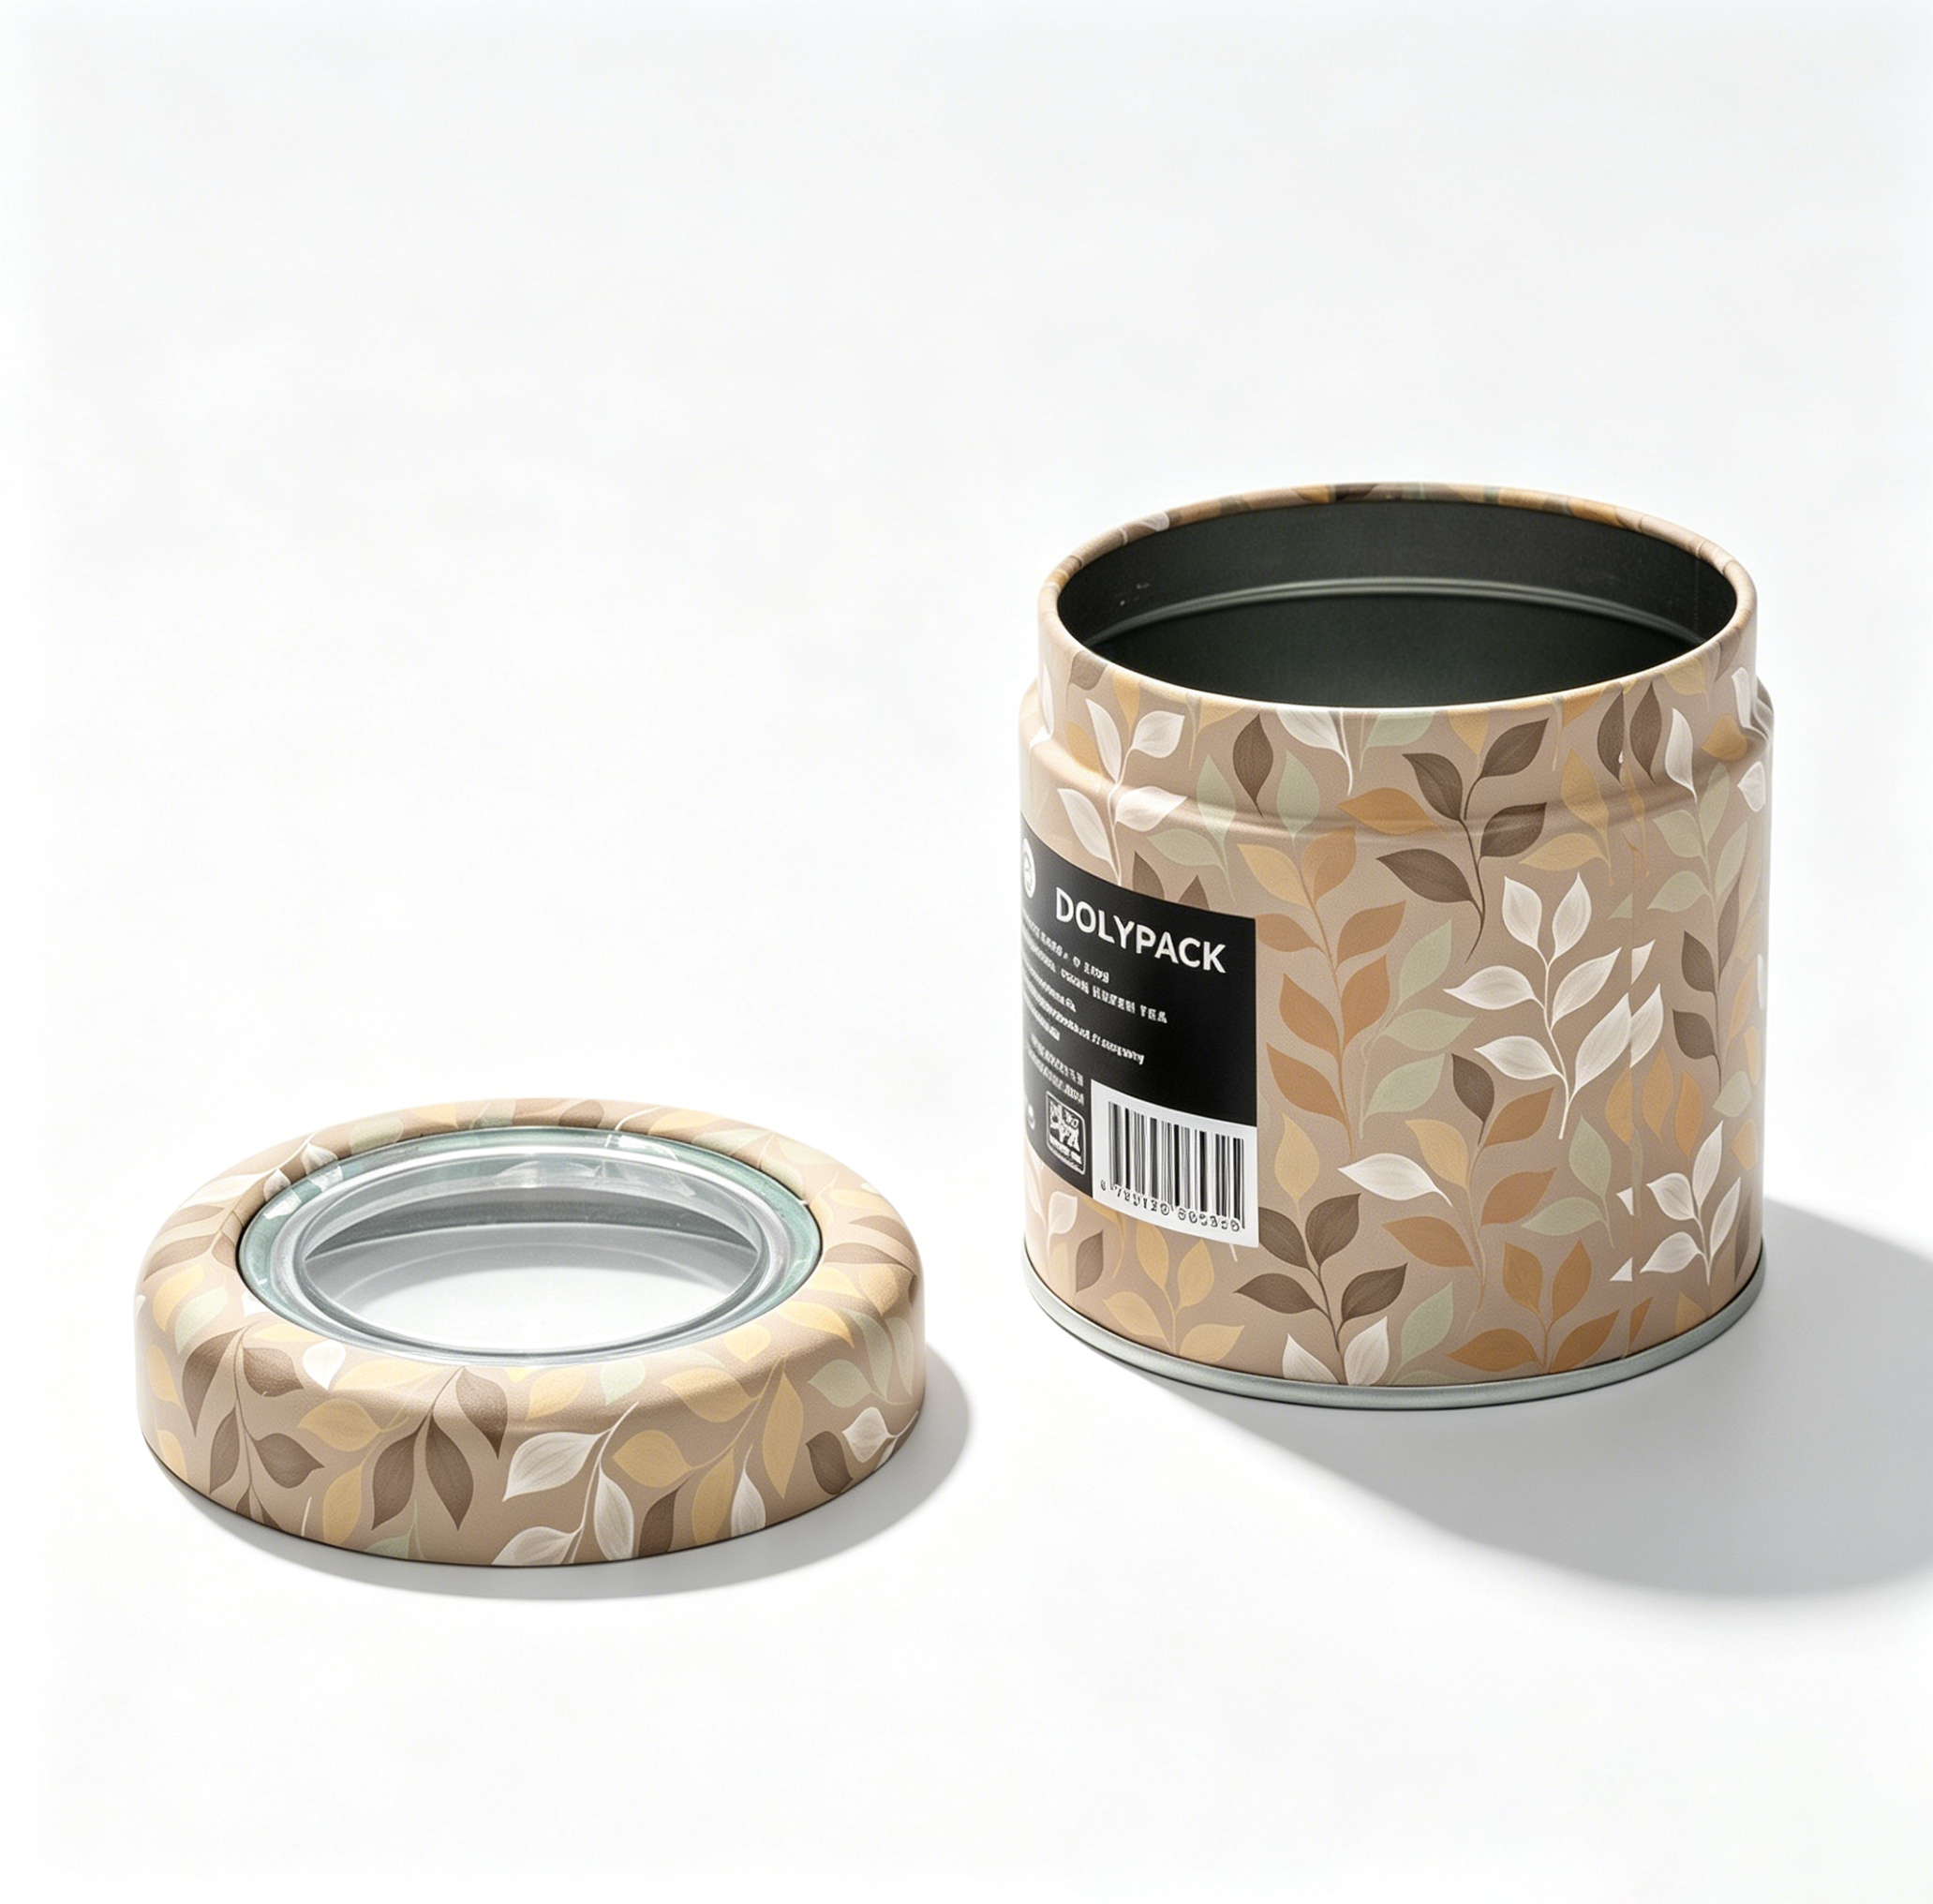
Where the embossing die gets built changes the cost equation in different ways, and neither route is a flat win. A domestic toolmaker lets you inspect a physical die proof in person and iterate quickly if the depth or placement needs adjusting, but domestic tooling labor rates tend to push the die charge above the illustrative bands above. A manufacturer with an in-house tooling team overseas — one that also runs the metal pressing and finishing in the same facility — often absorbs die development into the broader production relationship, which can lower the effective tooling line item; the trade-off is that freight and customs clearance get added to the landed cost, and the timeline from artwork approval to delivered tins stretches to cover ocean or air transit on top of production.
Neither path is universally cheaper. A large, price-sensitive order often favors the overseas route because the freight cost per unit shrinks as volume rises, while a very small, urgent, or highly iterative project sometimes favors paying more for a domestic die just to shorten the feedback loop. Comparing quotes on both the tooling line and the freight/timeline implications, rather than the tooling number alone, gives a truer cost picture when you’re weighing options close to home against options further away.
A single figure can’t capture embossed tin pricing, because container size and capacity, metal type (aluminum or tinplate), the decoration mix (embossing alone, or embossing plus printing plus a coating), and order quantity all move the number independently — and each one gets checked against your container drawing and vector artwork before a number is confirmed.
Rather than chasing a flat rate, compare the cost drivers above across the quotes you collect: is the tooling charge itemized separately from the per-unit pressing cost? Does the quantity break shown reflect your actual target volume? Is the finish — varnish, metallic effect, lacquer — priced as its own line rather than folded into the base embossing charge? Quotes that make these levers explicit are easier to compare fairly than ones that show a single bottom-line number.
Base material pricing — gauge, alloy, and container type before any decoration is added — follows its own logic; see Aluminum Tin Cost: Prices & What Affects Them for how that side of the equation works. Gauge and alloy selection for embossed patterns specifically is detailed in Embossed Tins Materials: Which One to Choose, and how quantity minimums and sourcing routes typically get set is covered in the Wholesale Tin Containers Guide: Types.
An accurate quote depends on giving enough detail up front that tooling, pattern depth, and finish can actually be assessed — vague requests only get vague ranges. Before requesting pricing, have ready:
A sample step is typically part of the process before a full production order, letting you confirm the pattern depth and finish reproduce as expected on the actual metal gauge before committing to volume. Production route, tooling, pattern depth, print alignment, finish, and sample requirements get built into the quote against your specific container drawing and artwork. Reach out via contact us with your drawing and artwork to start that process, and browse Custom Embossed Tins for the full range of decoration options first if you’re still shaping the design.
It depends on which cost you mean. Tooling is a one-time charge paid regardless of order size; the per-unit premium once the die exists is usually modest. A simple logo on a large order adds pennies per unit; a fine, deep pattern on a short run can add several dollars per unit.
There’s no fixed rate — cost depends on material, container size, the decoration mix (embossing, printing, finish), and order quantity. These variables are confirmed only after a quote checks your specific artwork and container drawing against gauge and curvature.
Tin sits mid-range: it typically costs more than basic plastic at low volumes, but its durability and premium feel often offset that gap at scale. The exact cost still depends on gauge, container shape, and whichever decoration methods are applied.
Look for a manufacturer with in-house tooling that can develop custom dies for shape and decoration rather than only offering stock containers — see the options built around a tin can manufacturer with in-house mold development.
The same standard applies: choose a manufacturer that checks your container drawing and artwork against real gauge and curvature limits before quoting — browse tin containers with lids for the range of box styles that can carry a custom die, then contact us with your specs.
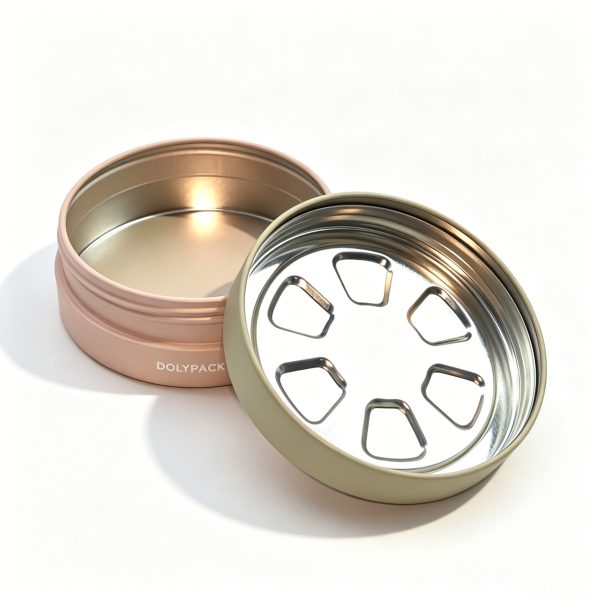
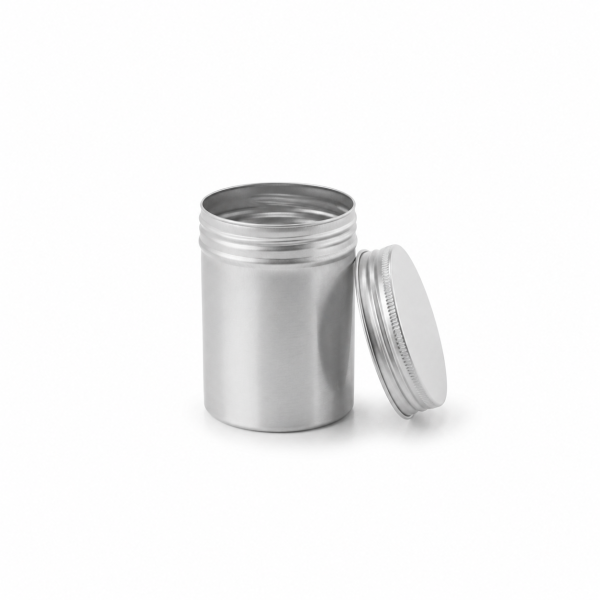
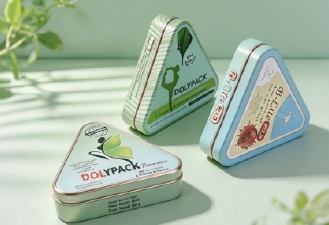
Send your target material — aluminum or tinplate — fill volume, quantity, and preferred decoration method. We typically respond within 12 business hours with pricing and lead time.
Request a free aluminum tin sample to check quality before ordering. Review aluminum tin cost factors to budget your first run, or explore customization options for printing, finishes, and accessories.